
 EN
EN ES
ES


Step-by-Step Guide to Handling Hazardous Material Spills Safely
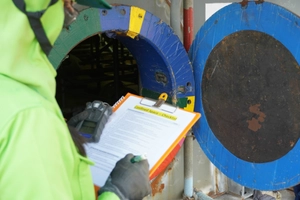
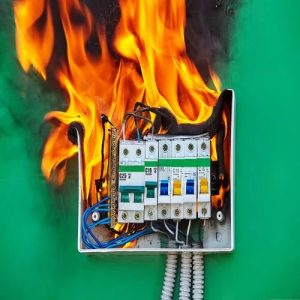
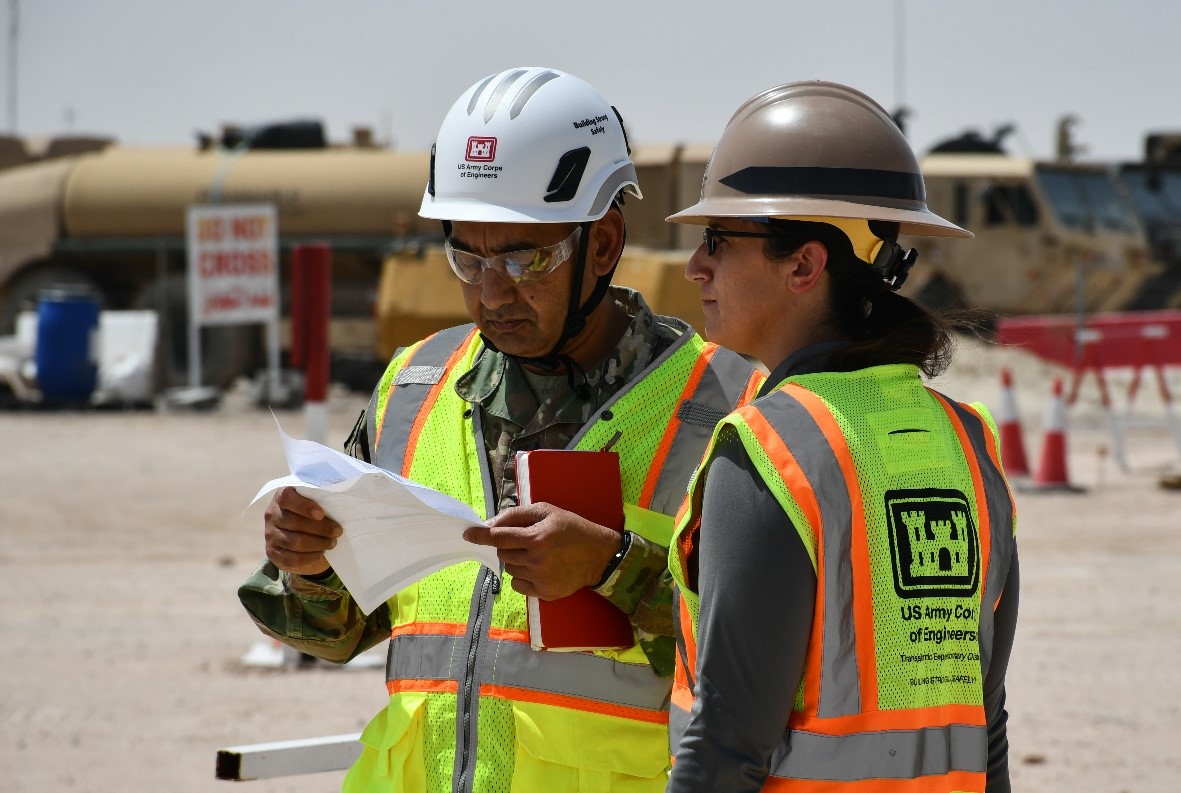
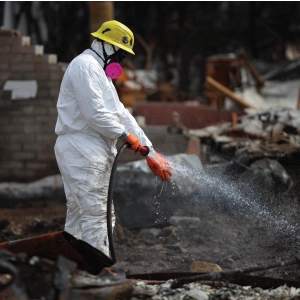
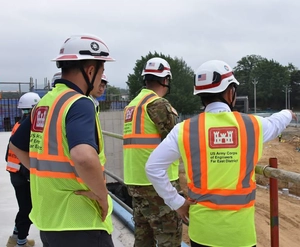
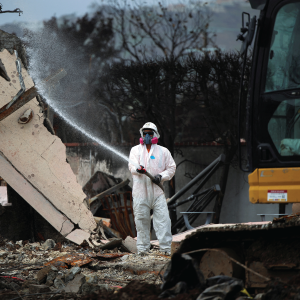
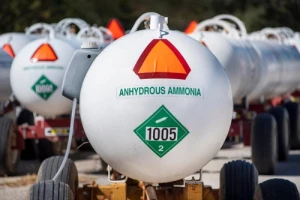
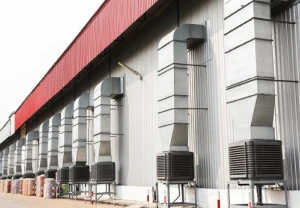
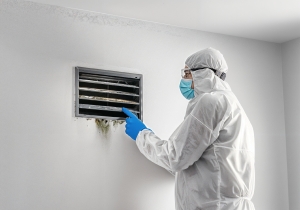
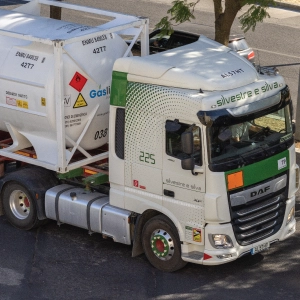
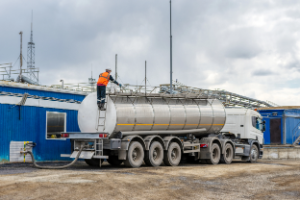
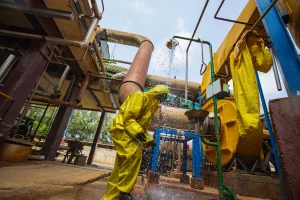
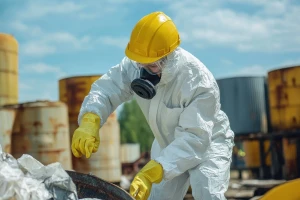
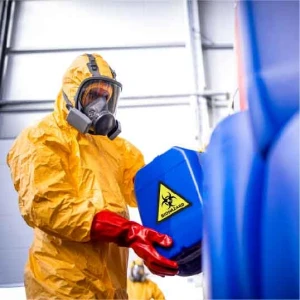
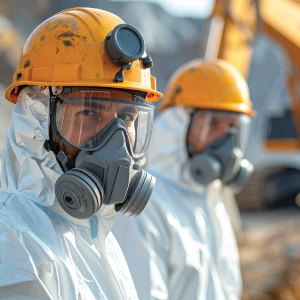
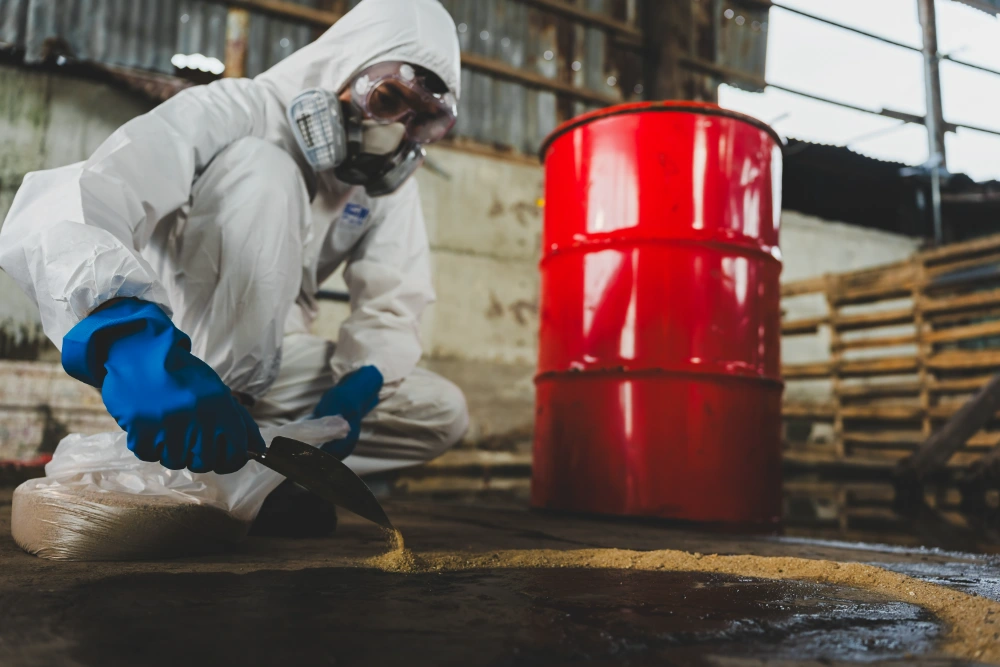
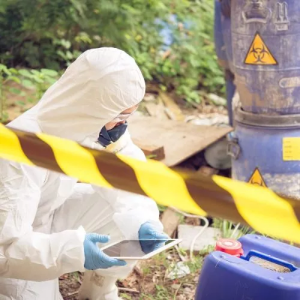
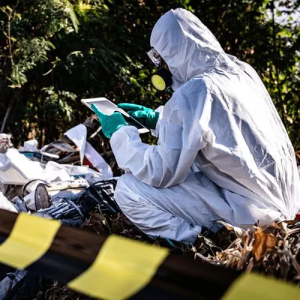
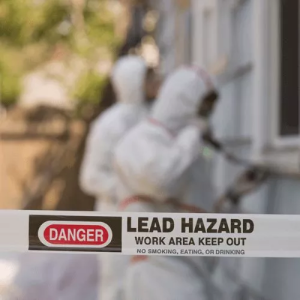
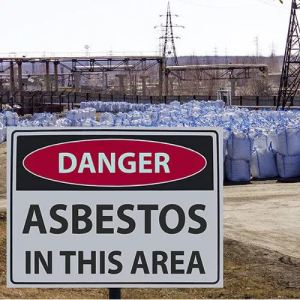
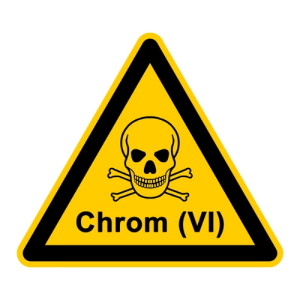
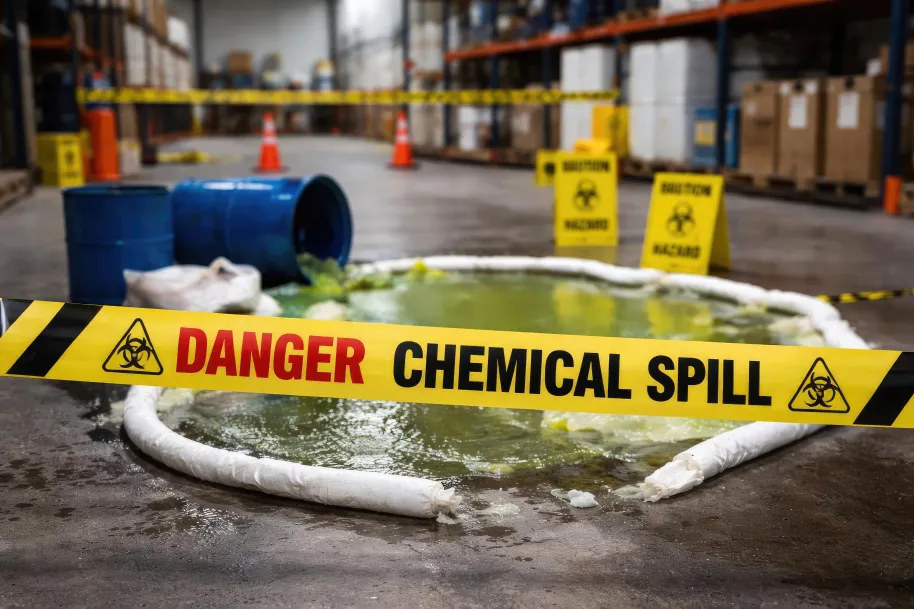
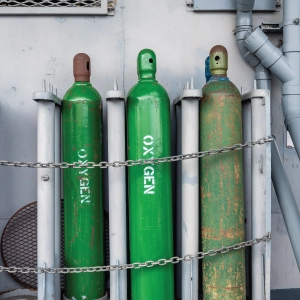
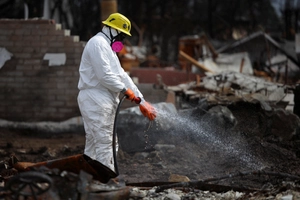
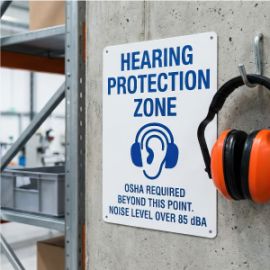
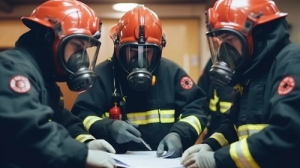
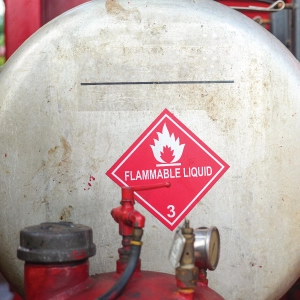
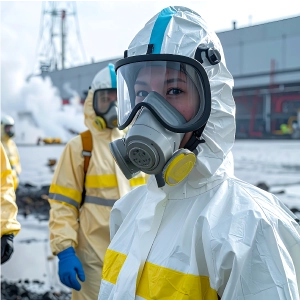
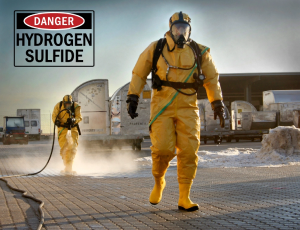
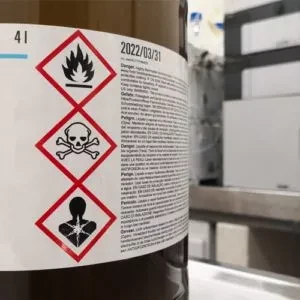
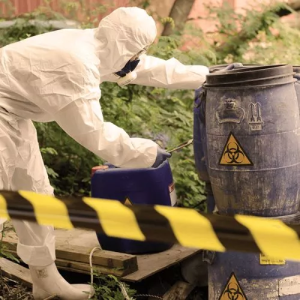
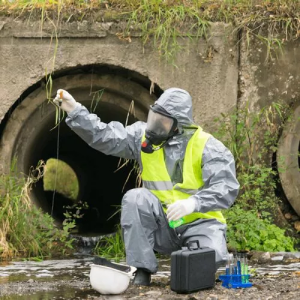
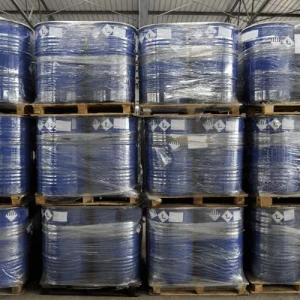
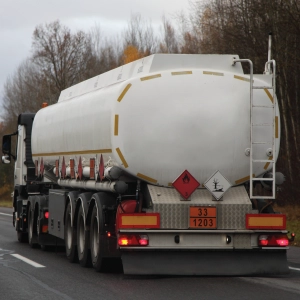
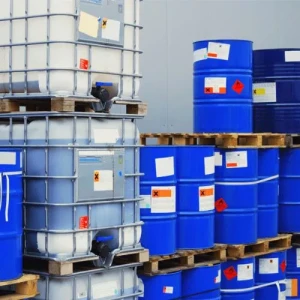
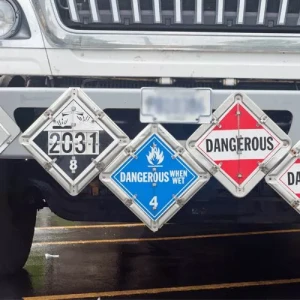
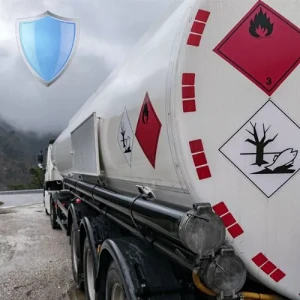
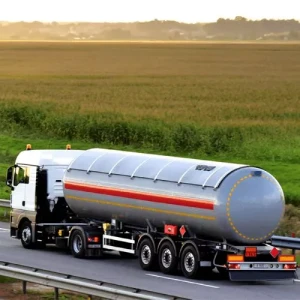
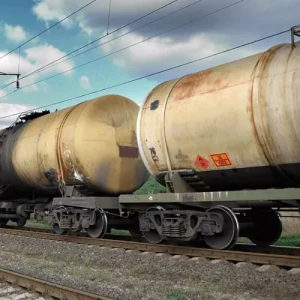
Step-by-Step Guide to Handling Hazardous Material Spills SafelyIntroduction:A single drum tips over on your facility floor. Within minutes, a chemical begins spreading across the workspace, releasing fumes that force employees to evacuate. Production halts. Supervisors scramble to assess the risk. What started as a routine operation quickly becomes a safety incident, putting workers at risk, disrupting operations, and exposing your business to costly downtime and liability. In environments where hazardous materials are part of daily operations, this isn’t a rare worst-case scenario. It’s a real operational risk that can escalate fast if not handled correctly.Not all spills carry the same level of risk, but every spill demands the right response. Some are incidental spills, small, manageable releases that trained employees can safely contain using available resources. Others are emergency spills, where the scale, toxicity, or conditions exceed in-house capabilities and require immediate evacuation and specialized response. The difference between the two isn’t just technical; it determines how quickly you act, who responds, and how well you protect your people and operations. Preparing for both scenarios is what separates controlled incidents from costly disasters.This blog provides a clear, practical step-by-step guide to handling hazardous material spills. You’ll learn how to keep workers safe, limit damage, and manage cleanup to reduce downtime and related costs.How does understanding hazards BEFORE a spill make spill response faster, safer, and cheaper?You cannot respond effectively beyond basic safety actions if you don’t understand the hazard.Hazards must be understood in three ways: how the material spreads, how it exposes workers (inhalation, skin contact), and how it can react with air, water, or other substances. These factors directly affect response decisions.In most workplaces, the first source of this information is container labels. These provide quick hazard warnings. Safety Data Sheets (SDS) give more detailed guidance, including protective equipment and handling precautions. Both should be accessible and understood before an incident occurs.Misidentifying a chemical is one of the most common and dangerous mistakes in spill response. For example, in some industrial settings, workers have mistakenly used a corrosive acid as a routine cleaning agent and attempted to neutralize it improperly, triggering toxic fumes and putting everyone nearby at risk. A wrong assumption in those first moments can quickly escalate the situation.Understanding hazards also helps you set clear response limits. Your team should know which spills they can handle and which require evacuation or external support. This prevents unsafe decisions during an incident. For employers, this is a critical planning step. It ensures your team does not rely on guesswork under pressure and enables faster, safer decision-making when a spill occurs.Know the hazard in advance. Then respond with the right actions.How to Prepare for HAZMAT Spills?Preparation improves response but only when it reflects real workplace conditions, not just checklists.1. Dynamic Chemical MappingStart by moving beyond simple identification and building a dynamic chemical mapping system. Hazardous materials in your facility are not static. New chemicals arrive, old ones get replaced, and storage locations shift. One of the biggest operational risks is “chemical creep,” in which new substances enter the workplace without updated Safety Data Sheets (SDS) or compatible PPE. To control this, implement a strict policy: no chemical is offloaded or used until its hazards are reviewed, and spill kit compatibility is verified. This ensures your response capability evolves with your inventory.2. Zone Based Response ModelDefine response limits clearly but reinforce them with redundancy planning. Many facilities rely on a single safety lead, creating a dangerous “single point of failure.” Instead, adopt a zone-based response model. Anyone working within a defined radius of high-risk areas (for example, 50 feet) should be trained on the first critical 60 seconds how to recognize the hazard, isolate the area, and initiate containment. This ensures immediate action, even if key personnel are unavailable.3. Strategic ProcurementRethink how you equip your facility by focusing on capacity scaling rather than just availability. A spill kit must match your worst-case scenario. If your largest container holds 500 gallons, a 20-gallon spill kit is not preparedness; It’s poor planning. Strategic procurement means aligning spill response resources with the maximum potential release, not the average case.4. Prevent Kit CannibalizationAddress the common issue of “cannibalized kits.” In many workplaces, emergency spill kits are gradually depleted because workers use absorbents for routine cleaning. When a real incident occurs, critical supplies are missing. Prevent this by securing kits with tamper-evident seals or breakaway ties and enforcing a clear policy: emergency kits are not for day-to-day use. This keeps them fully stocked and ready when it matters most.5. Train for Real-World ResponseTrain employees with a focus on real-world execution, not just awareness. Workers should know how to identify hazards, isolate areas, and tackle escalating situations. Drills can be used to uncover hidden operational bottlenecks. For example, a locked storage room delaying PPE access, poor signage slowing response, or alarms that make communication impossible. Drills are not just practice; they are a way to debug your facility under pressure.6. Coordinate with External RespondersFinally, extend your preparation beyond your own team. Establish a handoff protocol with local fire and HAZMAT responders. Identify exactly where they will enter your facility and prepare a spill information packet at that location, including SDS, floor plans, and shut-off valve locations. When external teams arrive, this eliminates confusion and saves critical minutes during escalation.Step‑by‑Step Spill Response ProcedureA structured spill response protects employees, limits environmental impact, and keeps operations running. But in real incidents, success depends on how quickly teams recognize danger, act in parallel, and avoid common mistakes under pressure.Sensory Recognition: The First Warning SignSpills are not always first identified visually. Often, the earliest indicator is sensory, such as a sharp odor, a “sweet” smell, or bleach-like fumes. By the time a worker notices this, the assessment phase has already begun.At that moment, hesitation is dangerous. Workers should immediately move upwind, create distance, and alert others. If the worker waits to confirm the source, it can lead to exposure within seconds.Initial Safety Actions & PPE Donning: Act SimultaneouslyOnce a spill is identified, evacuation, isolation, and PPE donning must happen at the same time, not in sequence.However, one of the most common failures is the “donning delay.” If responders wait until evacuation is complete before putting on PPE, valuable containment time is lost.Instead, while one person clears the area and raises the alarm, the trained responder should already be suiting up. This overlap is what preserves the narrow window where a spill can still be controlled.Also, account for communication breakdowns. In real scenarios, alarms, running machinery, or ventilation systems can make verbal communication ineffective. Preparation should include backup methods such as high-visibility hand signals or a dedicated emergency air horn to signal escalation or evacuation.Containment Techniques: Think “Downstream First”Preventing spread is the top priority, but it must be done in the right order.A common mistake is trying to stop the leak at its source while the material is already moving toward drains, exits, or sensitive equipment.Instead, apply “downstream first” logic:Place absorbent socks or barriers at the furthest point of travel (such as drains or doorways)Block pathways before addressing the main spill areaThen move inward toward the source to contain and control itThis approach prevents a small spill from becoming a facility-wide incident.Cleanup Methods: Manage the Reaction, Not Just the LiquidCleanup is not just about absorbing and removing material, it can introduce new hazards.Be aware of the exothermic reality. Some absorbents or neutralizers can generate heat, smoke, or fumes when they react with concentrated chemicals. What looks like routine cleanup can quickly become a secondary hazard inside the container.Teams must be trained to recognize when a reaction is occurring and adjust their approach accordingly.Ventilation and Decontamination: Restore Safe ConditionsAfter containment and cleanup:Ventilate the area to disperse vaporsDecontaminate surfaces, tools, and PPE using approved methodsVerify the area is safe before resuming operationsIncomplete decontamination can lead to lingering exposure risks or secondary incidents.Post‑Spill Procedures: Reporting, Documentation & Waste DisposalProper post-spill procedures protect employees, ensure regulatory compliance, and prevent future incidents. Clear reporting, thorough documentation, and safe waste disposal are essential steps for every employer.1 Reporting the IncidentNotify internal management and any required external authorities as soon as possible. Include:Spill type and volumeLocation and timeExposure or injuries (if any)Prompt reporting ensures timely follow-up and prevents escalation.2 DocumentationMaintain detailed records for every spill:What happened and whySteps taken during the responsePersonnel involvedEquipment and PPE usedGood documentation supports risk analysis, training improvements, and insurance or liability reviews.3 Waste DisposalDispose of spill residues and contaminated materials safely:Use approved containers and labelingSeparate incompatible wastesFollow internal procedures or approved external disposal servicesNever mix unknown chemicals or dump residues down drains. Safe disposal protects employees, the environment, and your organization’s reputation.Post-spill procedures are as critical as the initial response. They help to improve safety, refine procedures, and prevent future spills. Employers should ensure these steps are consistently practiced and enforced.Conclusion:Hazardous material spills are never just “a cleanup task.” They test your team’s training, your facility’s preparedness, and your ability to make rapid, safe decisions under pressure. As an employer, your role is to anticipate risks, equip your team, and set clear boundaries so when a spill occurs, everyone knows what to do and when to step back.Every assessment, every drill, every PPE check isn’t extra work, it’s insurance against serious injuries, environmental damage, and operational disruptions. By building a culture where safety is planned, practiced, and prioritized, you empower your employees to act confidently and responsibly when it matters most.For those looking to strengthen this foundation, structured learning makes all the difference. Courses like the OSHA Spill Prevention and Response Safety Training provide practical, scenario-based guidance that helps employers translate policies into real-world action, turning preparedness into tangible safety outcomes.In the end, it’s not just about handling a spill; it’s about creating a workplace where risks are managed, employees are protected, and confidence guides every decision. The steps you take before a spill define the results you see when it happens. .fancy-line { width: 60%; margin: 20px auto; border-top: 2px solid #116466; text-align: center; position: relative; } .fancy-line::after { content: "✦ ✦ ✦"; position: absolute; top: -12px; left: 50%; transform: translateX(-50%); background: white; padding: 0 10px; color: red; } .table-container { display: block; width: 100%; overflow-x: auto; -webkit-overflow-scrolling: touch; -ms-overflow-style: -ms-autohiding-scrollbar; max-width: 850px; white-space: nowrap; margin: 2rem 0; border-radius: 8px; box-shadow: 0 4px 6px -1px rgba(0, 0, 0, 0.1); } table { width: 100%; border-collapse: collapse; background: white; margin-bottom: 1rem; } table tr p { margin-bottom: 0px !important; } th, td { padding: 12px 15px; border: 1px solid #e5e7eb; text-align: left; } .bg-warning { background-color: #ffcd05 !important; color: #1a1a1a !important; } .table-stripe tr:nth-child(even), .table-warning tr:nth-child(even) { background-color: #fffde6 !important; } thead th { background-color: #f3f4f6; font-weight: 700; }
Read More


