English and
 Español. After purchase, use the language toggle in your course Player to switch between English and Spanish at any time.

 EN
EN ES
ES
















































































































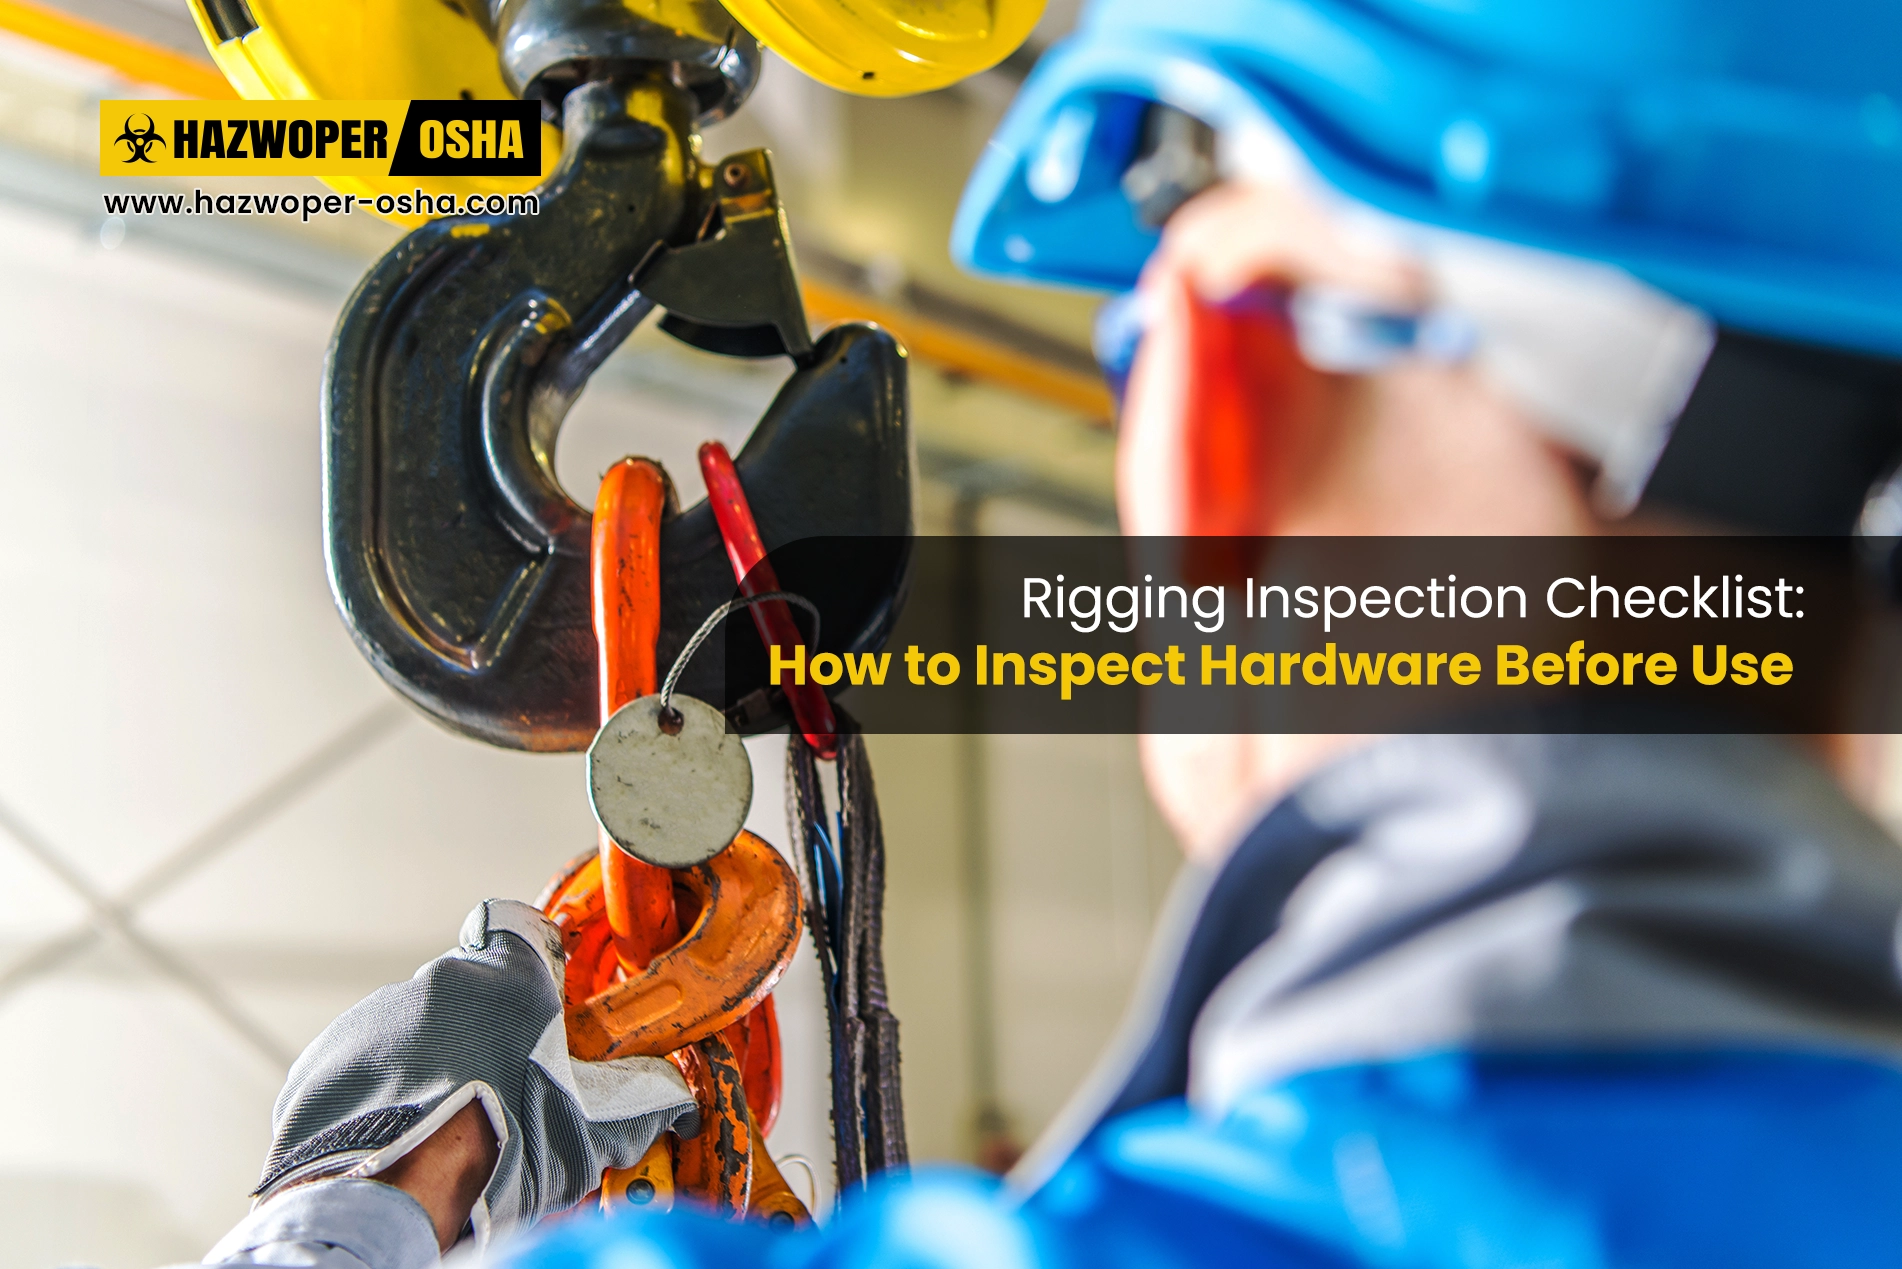
Rigging Inspection Checklist: How to Inspect Hardware Before Use
Introduction:
A rigging component can look perfectly usable and still be the weakest link in a lifting operation.
Even seemingly minor defects like a cracked hook, a deformed shackle, broken sling wires, or a damaged ID tag can compromise an entire rigging assembly. If these warning signs go unnoticed, the results can be devastating. Dropped loads not only wreck equipment but frequently cause severe struck-by injuries and tragic fatalities. Beyond the immediate physical danger, organizations are left grappling with the operational fallout, which often spirals into prolonged work stoppages, intensive investigations, and heavy legal and regulatory penalties. Because not every defect is obvious at a glance, a proper pre-use rigging inspection is essential before a load leaves the ground.
A rigging inspection checklist gives workers a systematic way to examine hooks, shackles, slings, and other hardware for damage, excessive wear, corrosion, deformation, and other conditions that may require removal from service. It also helps verify rated capacity, component compatibility, and the condition of the complete rigging assembly.
In this blog, we cover key inspection points for common rigging hardware and the warning signs you should never ignore. Use this checklist as a practical reference before your next lifting operation.
Why Rigging Hardware Must Be Inspected?
Rigging hardware constantly battles harsh environments, enduring everything from repeated heavy loads and sudden impacts to friction, corrosion, and extreme heat. Over time, this relentless exposure compromises the equipment, leading to cracks, structural deformation, and severe wear that strips away its ability to safely support a load.
When damaged gear slips past inspection, a catastrophic failure mid-lift becomes a very real threat. A dropped load not only destroys surrounding equipment but puts workers at immediate risk of severe or fatal injuries. The ripple effects for the organization are equally punishing, resulting in halted operations, extensive property damage, and a wave of expensive repairs and regulatory penalties.
That is why you should inspect rigging hardware before use. The inspection helps identify damage or deterioration early and confirms that each component is properly identified, has the required rated capacity, and is suitable for the intended lifting application.
When to Inspect Rigging Hardware
Inspect rigging hardware before use and whenever conditions indicate that its integrity may have been affected. Additional inspections may be required based on the equipment type, applicable OSHA requirements, manufacturer instructions, and company procedures.
Inspect or re-inspect rigging:
- Before use: Check components for visible damage, defects, and other conditions that could affect safe use.
- After an unusual event: Reinspect following shock loading, impact, suspected overloading, or exposure to damaging conditions.
- When conditions change: Stop the operation and inspect the rigging if damage or a change in the load or lifting configuration is suspected.
- During required periodic inspections: Complete formal inspections at intervals specified by applicable requirements, manufacturer instructions, or company procedures.
A consistent inspection by a trained professional process helps ensure you identify defects before they become a lifting hazard. The next step is knowing exactly what to check on each type of rigging hardware.
Rigging Hardware Inspection Checklist
A rigging inspection should cover every component involved in the lift.
1. Verify Identification and Rated Capacity
Start with the manufacturer's identification and rated-capacity markings. If required markings are missing, illegible, or cannot be matched to the component, do not use the equipment until you can verify its identity and rated capacity.
For slings, verify the manufacturer's identification and rated capacity for the specific hitch configuration. Consider the hitch type, sling angle, material, and other configuration factors when determining the applicable capacity. Never exceed the marked rated capacity, and do not use a sling if you cannot establish its capacity.
2. Inspect Hooks
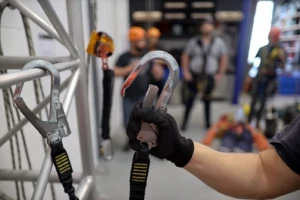
When inspecting hooks, check carefully for any deviation from their original shape. Look out for structural distortions like bending or twisting, surface flaws such as cracks and gouges, and signs of environmental wear, including corrosion or heat damage. Pay particular attention to the throat opening, since an enlarged opening can indicate overload or deformation.
For hooks used with sling assemblies, OSHA requires removal from service when the hook has opened more than 15% of its normal throat opening or has been twisted more than 10 degrees from the plane of the unbent hook. Follow the applicable manufacturer and consensus-standard criteria when evaluating other hook defects.
Where a latch is provided, verify that it operates properly and does not prevent the hook from functioning as intended.
3. Inspect Shackles and Connecting Hardware
Inspect shackle bodies and pins for structural issues like bending and distortion, surface flaws such as cracks or gouging, and general signs of corrosion and excessive wear. Verify that the correct pin is installed, fully engaged, and secured as designed.
Never improvise a replacement for a missing or damaged shackle pin. Do not substitute a standard bolt, piece of rebar, or other unrated hardware. Use the manufacturer's specified component or an appropriately rated and approved replacement.
Also inspect master links, swivels, eyebolts, lifting points, and other connecting hardware. Check threads, retaining devices, and attachment points for damage or conditions that could prevent a secure connection or safe load transfer.
4. Inspect Wire Rope Slings
When inspecting wire rope slings, look beyond individual broken wires. Examine the entire sling for conditions that could reduce its strength or affect its ability to carry the load safely.
Under OSHA requirements, remove a wire rope sling from service when it has 10 randomly distributed broken wires in one rope lay, or 5 broken wires in one strand in one rope lay. Beyond these exact counts, watch closely for structural distortions like kinking, crushing, or bird-caging. You should also check for surface issues such as excessive wear and scraping, along with signs of environmental degradation like corrosion or heat damage. Finally, pay special attention to the end attachments. Carefully inspect the eyes, splices, sleeves, and thimbles for any signs of deterioration or damage. Compare observed defects with the applicable OSHA, manufacturer, and consensus-standard removal criteria before putting the sling into service.
5. Inspect Synthetic Slings
Look beyond obvious cuts. Examine synthetic web and round slings for abrasion, snags, punctures, tears, cuts, melting, charring, chemical damage, broken or worn stitching, and damaged fittings.
For synthetic web slings, inspect areas around eyes, stitching, protective coverings, and fittings for damage that could expose or weaken the load-bearing fibers. For round slings, look for exposed or damaged core yarns, particularly where the outer jacket has been cut, abraded, or snagged.
Suppose damage exposes the sling's load-bearing fibers or creates a condition that could affect its strength, remove the sling from service rather than estimating remaining capacity. Do not return a damaged sling to service through an improvised repair.
6. Check the Complete Rigging Assembly
Inspect the assembly as a complete system, not just as individual components. Verify that hooks, shackles, slings, and other attachments are compatible and properly connected.
Confirm that the configuration is appropriate for the load and intended lift. Check load stability, connection points, sling angles, and the potential for the load to shift during the operation.
Training should reinforce proper rigging inspection and handling practices to help workers recognize hazards and apply safe lifting procedures.
What to Do After Finding Damaged Rigging?
Identifying damaged rigging is only the first step. You must immediately remove any defective or unsafe equipment from service to ensure it isn't used in another lifting operation. To prevent the equipment from accidentally making its way back into circulation, clearly identify and isolate it according to your site's procedures.
Once the gear is secured, consult the manufacturer's instructions and applicable requirements to determine whether qualified personnel can repair the item or if it simply must be replaced. It is also important to document the defect, equipment identification, inspection date, and corrective action where required, as this helps track recurring problems and maintenance needs. Above all, never return damaged rigging to service until its condition has been properly evaluated and officially established as safe for use.
Common Rigging Inspection Mistakes to Avoid
Common Rigging Inspection Mistakes to Avoid
Rigging inspection failures occur when workers overlook critical components or conditions affecting a planned lift. However, these oversights rarely happen in a vacuum—production pressure, rushed schedules, and weak equipment tracking are often the root causes. Avoid these common pitfalls:
- Inspecting Only the Most Visible Components: When lifts are behind schedule, rushed crews often rely on a quick visual glance. You must inspect the complete assembly—including hooks, shackles, slings, pins, fittings, and attachment points—because damage is rarely limited to the most visible parts.
- Ignoring Identification and Capacity Markings: Weak equipment tracking often leaves gear with faded or missing tags in circulation. Never rely on appearance alone to judge suitability. Always verify the rated capacity; OSHA strictly prohibits using slings without legible identification markings.
- Continuing to Use Defective Equipment: Production pressure and the normalization of minor wear can tempt teams to accept bent components or frayed stitching on seemingly "routine" lifts. Never ignore a defect. Immediately remove damaged rigging from service and isolate it so an unaware worker does not accidentally reuse it.
- Overlooking the Rigging Configuration: Even when equipment is in perfect condition, inadequate training or rushed planning can cause crews to miss configuration hazards. Before lifting, confirm that the hitch type, sling angle, connection points, and rated capacity are entirely compatible with the specific load.
- Failing to Reinspect After Unusual Events: When communication breaks down between shifts, crews may not realize equipment was subjected to impact, shock loading, or suspected overloading. Always reinspect rigging after any unusual event, as structural integrity can be compromised even if no obvious surface damage is present.
Effective rigging safety requires more than just telling teams to check their equipment. It demands adequate inspection time, clear quarantine procedures, and a safety culture that acts on findings before the load is ever lifted.
Conclusion:
Never treat rigging hardware as ready for use just because it looks intact. Hooks, shackles, slings, and connecting components need to be checked for damage, proper identification, rated capacity, and compatibility with the planned lift.
A consistent rigging inspection checklist helps workers identify defects, recognize conditions that require removal from service, and verify the complete assembly before lifting a load. Following applicable OSHA requirements, manufacturer instructions, and site procedures is essential to keeping rigging equipment serviceable.
Make rigging inspection a deliberate step before every applicable lifting operation. If you're unsure about a component's condition or suitability, keep it out of service until it's properly evaluated.
Frequently Asked Questions
Inspect rigging equipment before use each shift and as needed during use under OSHA 29 CFR 1926.251. Specific equipment may also have additional periodic inspection requirements.
Check hooks, shackles, slings, pins, fittings, identification markings, and attachment points for cracks, deformation, excessive wear, corrosion, heat or chemical damage, and other defects that could affect safe use.
Common warning signs include cracks, broken wires, kinks, crushing, bird-caging, cuts, abrasion, melting, corrosion, deformation, and damaged stitching or fittings. The applicable rejection criteria depend on the type of rigging.
For rigging covered by OSHA 29 CFR 1926.251, equipment must have permanently affixed and legible manufacturer identification markings indicating the recommended safe working load. Do not use equipment without required markings.
Remove defective rigging from service immediately and prevent accidental reuse. Follow applicable manufacturer and company procedures to determine whether the equipment can be properly repaired or must be replaced.